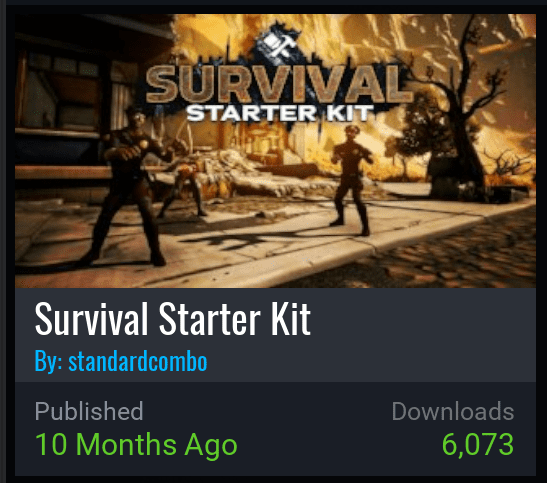
Survival Kit
Overview
The Survival Jam Kit is an open Community Project created by Team META.
The project includes many systems that are typical of the Survival genre, including hunger, thirst, and stamina meters, breakable shelters, crafting systems, and save points. It also includes a vast number of Post Apocalyptic artistic assets from telephone pole tiles a complete abandoned military base.
Using the Kit
Download from Community Projects
The Survival Jam Kit was made as a game open for editing that can be found in Community Projects.
To create a copy to edit:
- In the Create tab, select Create New.
- In the Community Projects option, select Browse Projects.
- Type
Survivalinto the search, and select the project titled Survival-Framework. - Give it the name of your project in the Name field and press Download.
Testing the Game
Once you have the Survival Framework downloaded, you should start out by testing it to understand the various systems at play.
In the bottom left corner, you should see the meter bars for four resources, Health, Hunger, Thirst, and Sprint. You can hold the Shift key as you are moving to increase your speed and deplete the Sprint bar.
In the bottom right corner you should see controls for several different systems in the game.
- Press I to see an inventory.
- Press X to see crafting recipes.
- The L key will allow you to loot when it is available.
- Press the M key to see a Map.
Changing Systems
Each of the gameplay systems in the project has an explanation on how to use them Documentation folder. Select any of the README files to learn how to create new crafting recipes, items, or NPC's.
Changing the Map
The map is created by a camera positioned high above the scene, with some One0Sided Planes used to give it the framing that you can see from above but not below.
As you change the project, the map will automatically show those changes, but you may want to modify the World Text that labels different areas.
- Open the UI folder to find the Map folder.
- Inside of Map, open the Client Context folder to find the Map Mode folder.
- The Map Post Processing folder includes most of the information you will need to change to change the map.
- Open the Borders folder to change the appearance of the frame that you see in the map view.
- Open the Locations folder to change the name and position of the different labeled areas in the world.
Finding Templates for Art Assets
If you find a model in the world that you would like to copy and use elsewhere, you can always duplicate it with Ctrl+W, but you may also want to find the template that it was made from in Project Content.
- Click on an object in the scene.
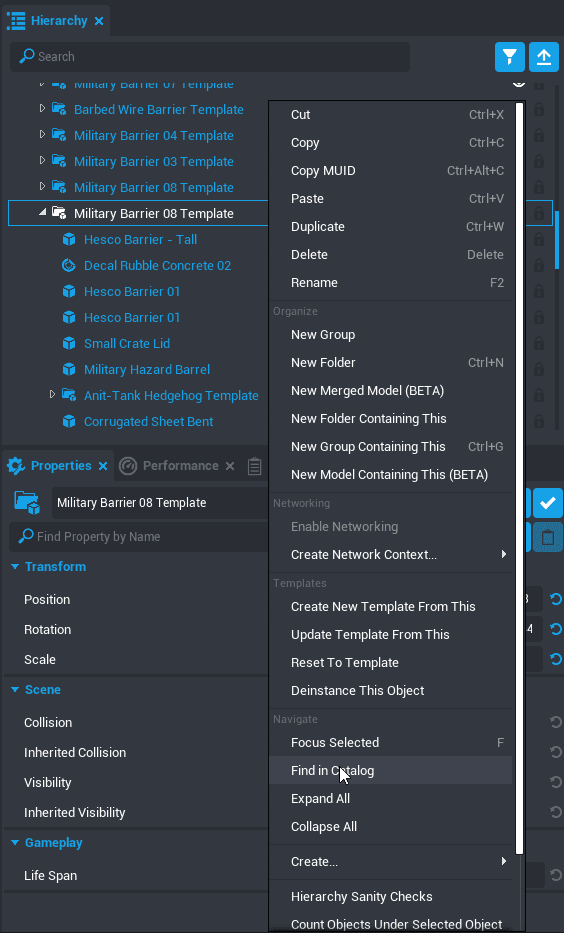
- Find the parent that is the Template by looking up in the Hierarchy. If you have Group Select Mode enabled you may select this automatically.
- Right-click the template and select Find in Catalog.
- The template will now be selected in Project Content, and you can export it, drag out new copies, or use the X key to spawn new copies at your mouse position in the scene.
Hint
You can use the Left Arrow key to select a parent of an object that is selected in the Hierarchy.
Learn More
Survival Tutorial | Template Reference


