Create a Battle Royale in Core
Overview
The Battle Royale framework features starting logic for game where the player must skydive to a starting location, the play area shrinks over time, and the last player standing wins. It also includes random weapon spawns using a loot table.
Creating a Framework Game
Open the NEW PROJECT Menu
- With Core open, click the CREATE tab in the top menu bar.
- Click the NEW PROJECT tab at the top of the CREATE menu.

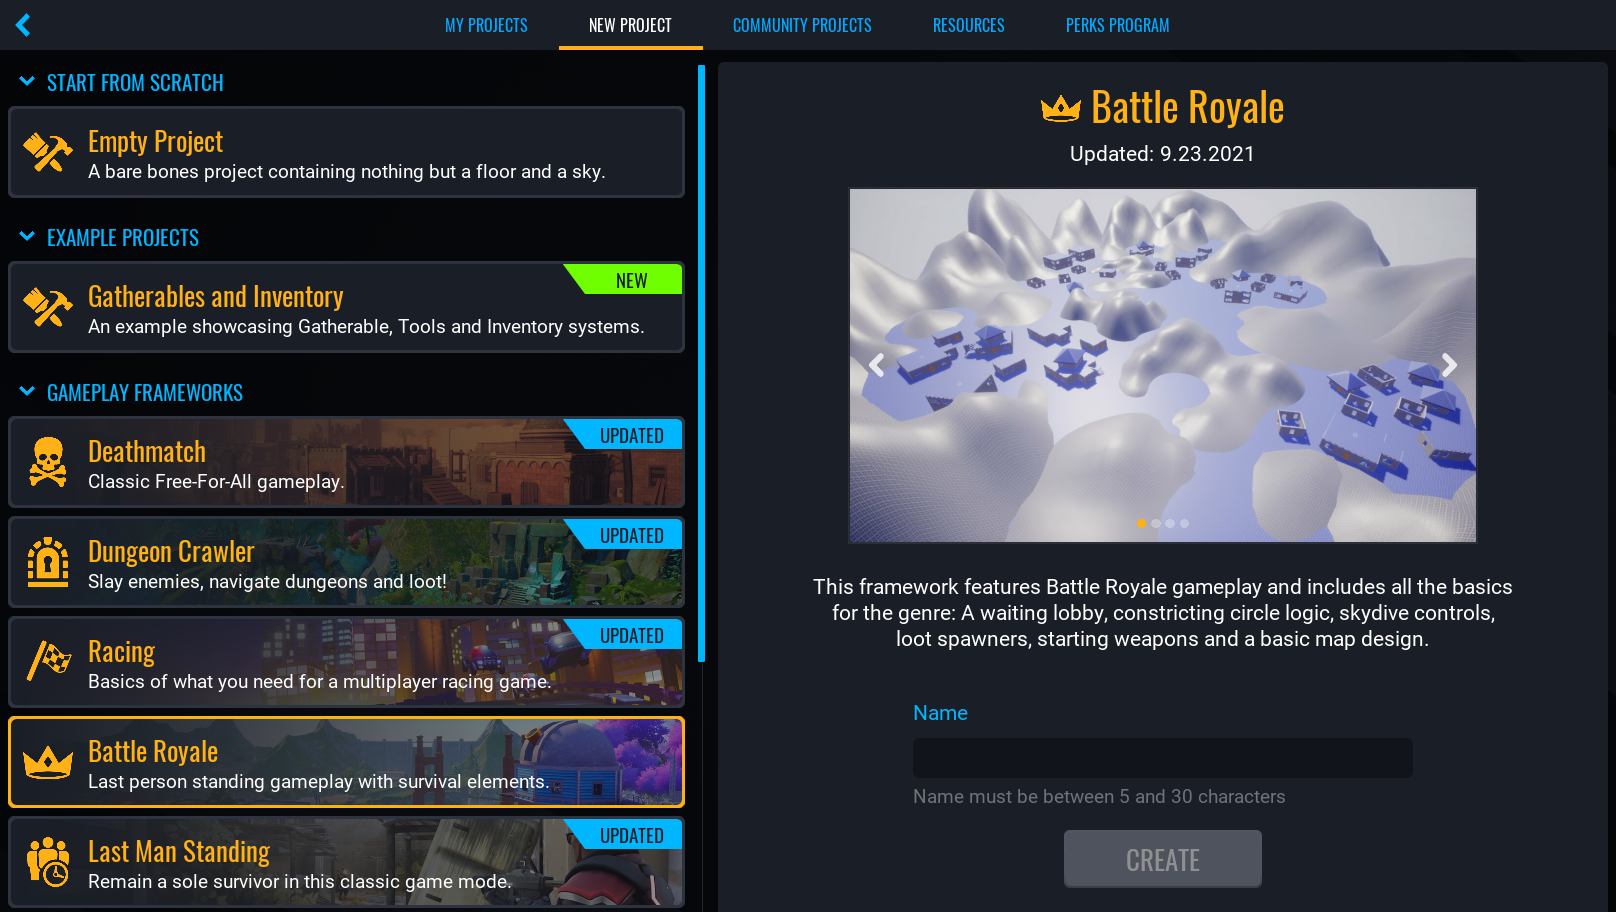
Select the Battle Royale Framework
- In the GAMEPLAY FRAMEWORKS section, select Battle Royale.
- In the right side panel, name your project.
- Click CREATE.
Testing the Framework
Preview in Multiplayer
The framework requires a minimum of two players to play, so you will need to test in Multiplayer Preview Mode.

- Click
 to switch the Preview Mode to Multiplayer.
 - Select the 2 Players option for the number of players.
- Press
 to start the preview. This will open a separate game window for each player.
Test the Features
Test out the following features in the framework:
- Players spawn on the ground.
- After a couple seconds, the players will be moved inside of a Paper Plane.
- Players can drop from the plane using Space.
- Players can activate the parachute while dropping using Space.
- Players will be dealt damage if outside the Play Zone.
- The Play Zone will shrink over time.
- Loot Spawners around the map contain one of three weapons:
- Basic Pistol
- Basic Shotgun
- Basic Rifle
- The round ends once there is one player remaining alive.
The tutorial will cover how to change settings to speed up the gameplay.
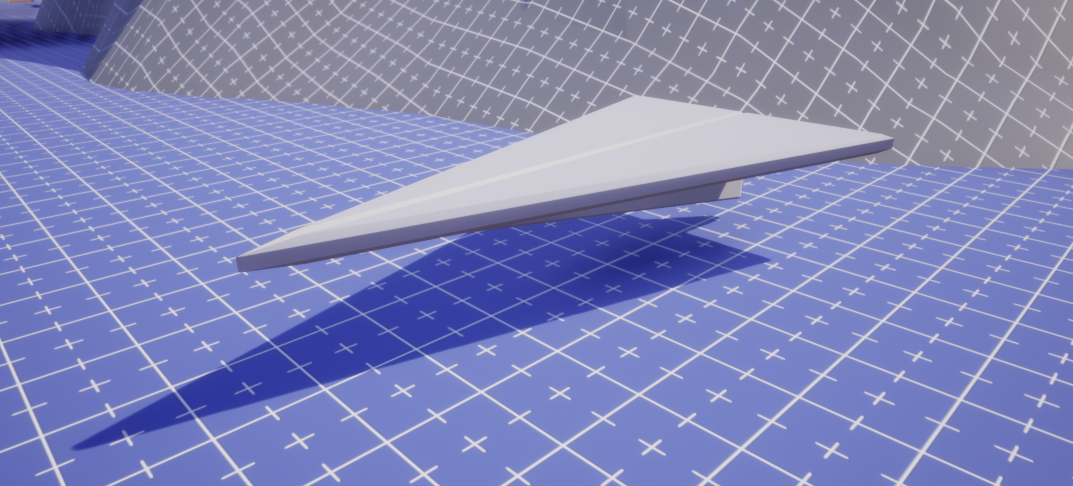
Modifying the Airplane Template
The frameworks starts with the players inside of a paper airplane. You can modify the appearance of the airplane by updating the Helper Plane template.
Deinstance the Original Template
- In the Project Content window, search for the
Helper Planetemplate. - Drag the template into the game.
- Right click the template and select Deinstance this Template.
You can focus the camera on an object by selecting the object in the Hierarchy and pressing the F key.
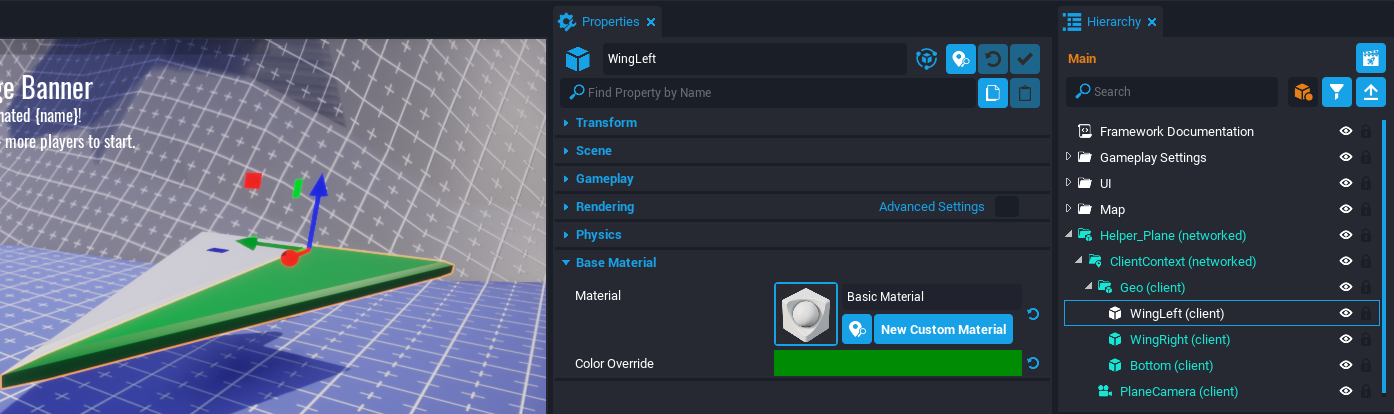
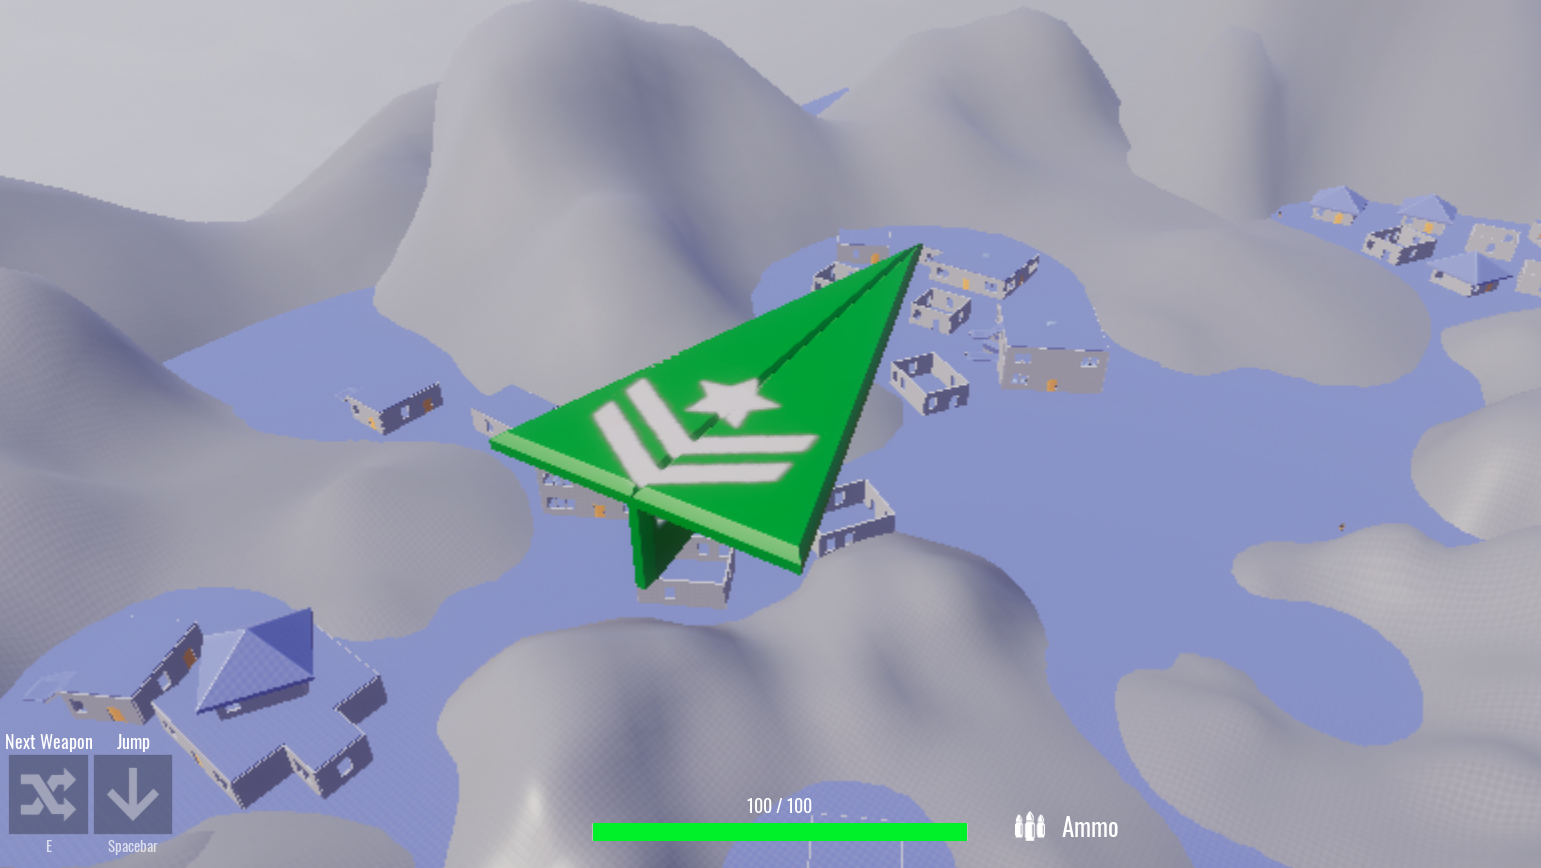
Change the Colors
In the Hierarchy, navigate to the Geo group that is inside the ClientContext of the Helper_Plane. There are three objects that make up the airplane. One at a time, select an object and change the Color Override property inside the Properties window.
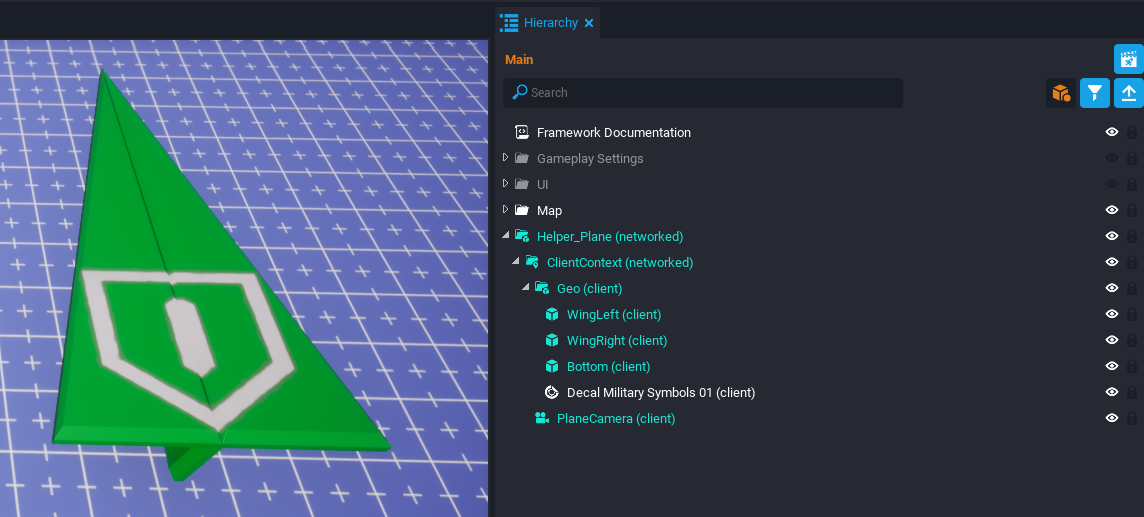
Add a Decal
You can continue customizing the airplane by adding decals. Decals display graphics on a surface.
- Inside the Core Content window, find the Art Objects category and Decals subcategory.
- Drag and drop the Decal Military Symbols 01 decal into the Geo group within the Hierarchy.
- Position the decal onto plane.
- Rotate and Scale the decal to your liking.
Info
You can modify the decal by changing its properties. With the decal selected, open the Properties window and scroll down to the Smart section. Not all decals have the same properties. Some decals have a Shape Index property that change the graphic to different variations. For example, there are multiple military symbols available inside the Decal Military Symbols 01 decal.
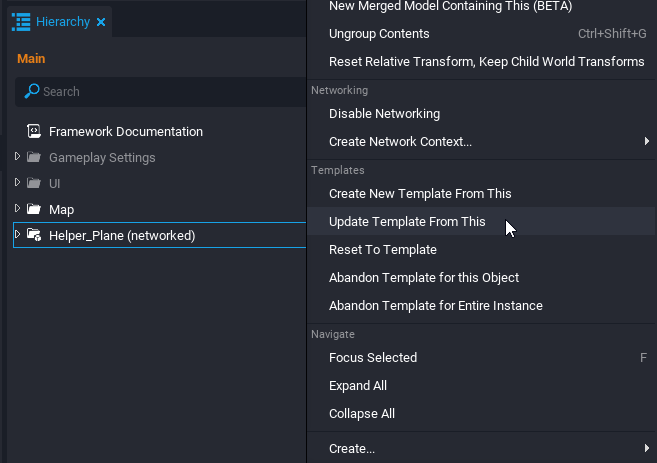
Update the Template
Once you are done adding changes to the plane model, right click the Helper_Plane and select Update Template From This. After, delete Helper_Plane from the Hierarchy.
Test the Game
The airplane template should now be modified in game and is ready to test. Make sure to enable Multiplayer Preview Mode before pressing Play.
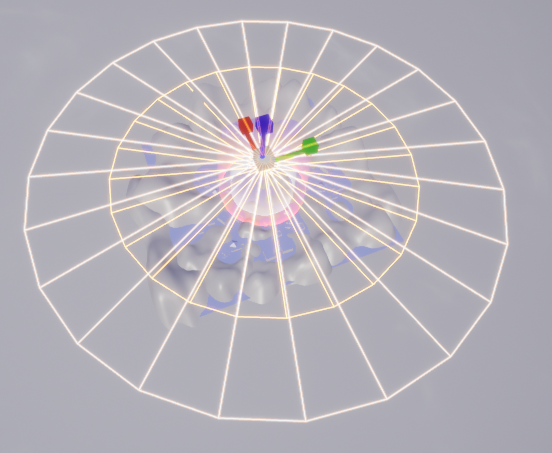
Editing the Drop Zone
The Drop Zone is a cylindrical area that represents where the player can drop from the plane. The plane will spawn near the edge of the cylinder at random and then fly across to the other side.
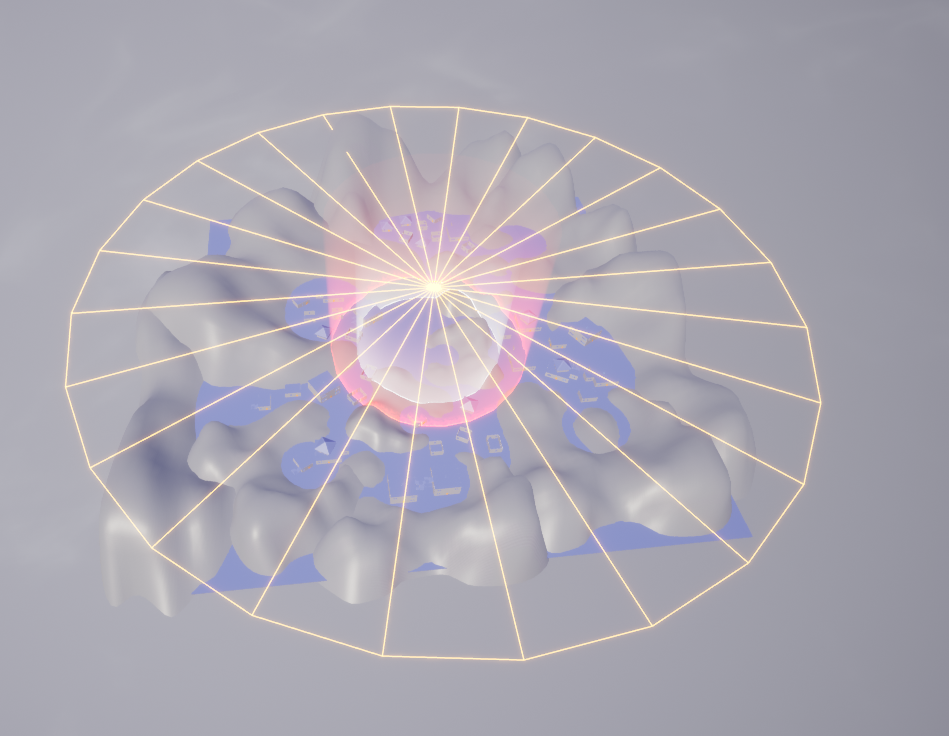
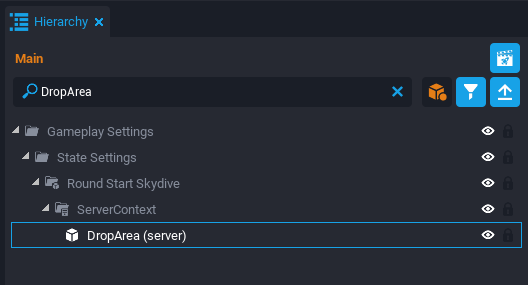
Focus on the Drop Zone
Inside the Hierarchy, search for DropArea. Select the DropArea object and press F to focus the scene on the large cylinder mesh.
Scale the Drop Zone
Press R to enter scale mode. Change the X and Y scale so the Drop Zone is a different size.
Changing the Falling Player Movement
The player has two different falling phases. When the player drops from the plane, they enter a free fall known as the Skydive phase. When the player presses Space while skydiving then they transition to the Parachute phase.
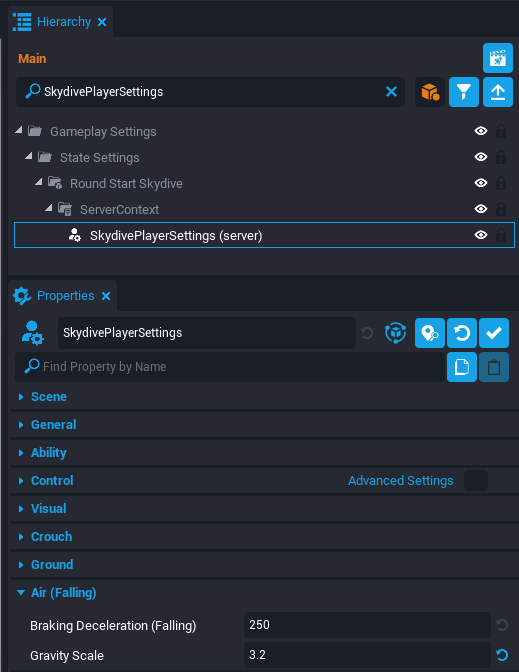
Change Skydive Settings
In the Hierarchy, search for SkydivePlayerSettings. Select the SkydivePlayerSettings and open the Properties window. Increase the Gravity Scale property to 3.2 and notice how the player will fall down twice as fast with no parachute.
Change Parachute Settings
In the Hierarchy, search for ParachutePlayerSettings. Select the ParachutePlayerSettings and open the Properties window. In the Ground section, change the Max Speed property to 2400. This will increase the max speed moving forward while parachuting.

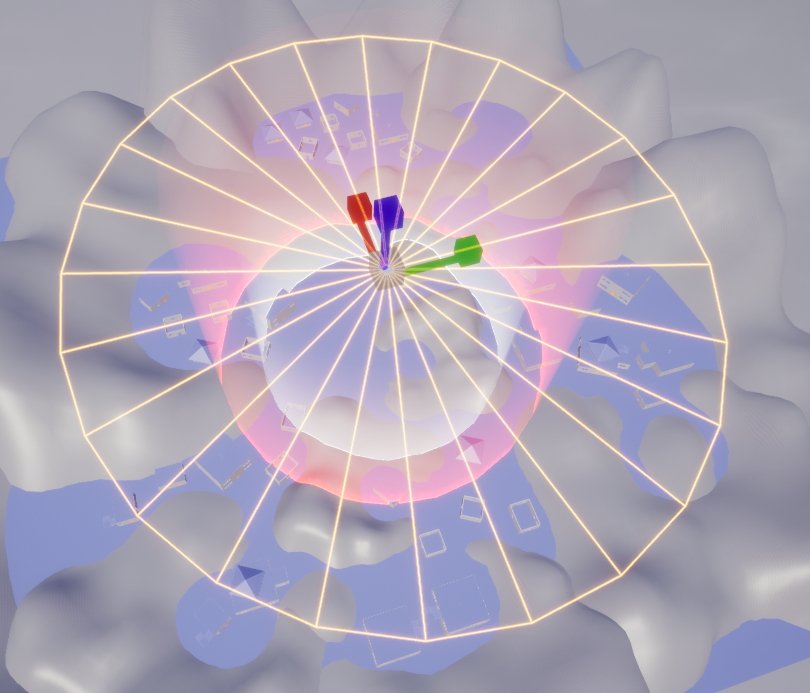
Changing the Play Zone
A main feature in most Battle Royale games is that the area of play is shrinking to gradually increase the proximity of all players. The Play Zone is a cylindrical area where the player will not receive constant damage. The Play Zone will shrink in size for a certain amount of intervals.
Change the Play Zone Settings
In the Hierarchy, search for Constricting Play Zone. Select the Constricting Play Zone group and open the Properties window. The object has many Custom Properties that will be described below:
| Property Name | Description |
|---|---|
| Phase Count | The number of phases. The Play Area will shrink in size as the phases increase. It will stop shrinking once the last phase occurs. |
| ZoneSizeRatio | The ratio for the Play Area to shrink after each phase. For example, 0.7 signifies the area will shrink down to 70% of its current phase size. |
| StaticTime | The amount of seconds each phase will last before it starts shrinking. |
| Closing Time | The amount of seconds it takes to shrink before starting the next phase. |
| BaseDamageRate | The amount of damage per second applied to the players outside the Play Zone during phase 1. |
| DamageMultiplier | The amount multiplied to BaseDamageRate after each phase. |
| UseRoundTiming | The toggle to restart the Play Zone after each round. |
| ActivationDelay | The amount of seconds until the first phase begins. |
Change the Initial Play Zone Size
The Play Zone starts off quite large. You can decrease the starting size of the Play Zone, which leads to an increase in the pace of battle.
- In the Hierarchy, search for
InitialZone. - Select the InitialZone object.
- Focus on the cylinder mesh by pressing F.
- Press R to enter scale mode.
- Change the X and Y scale so the initial Play Zone is a different size.
Changing the Loot Table
There are several Loot Spawner objects placed throughout the map that contain a random weapon for the player to pick up. The Loot Table is a group of objects and each object has a property for a weapon template. The Loot Spawners have an equally random chance of containing one of the weapons from the Loot Table.
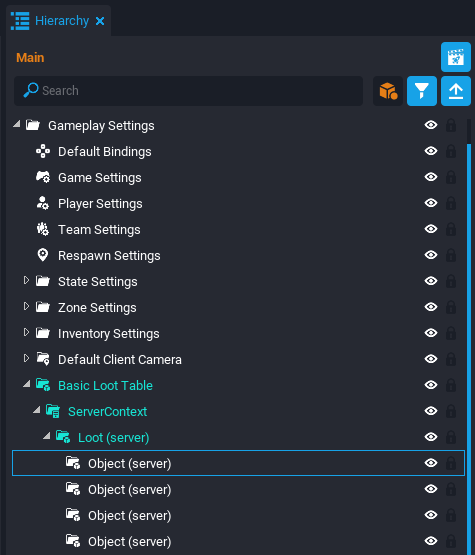
Add a New Object to the Loot Table
- In the Hierarchy, navigate to Basic Loot Table folder inside the Gameplay Settings.
- Then navigate to the Loot group inside the ServerContext.
- Notice there are three Object groups inside representing the three different weapons in the Loot Table.
- Select one of the Object (server).
- Duplicate it using the keyboard shortcut Ctrl + W.
Change Weapon in the Loot Table
Core Content has many default weapons ready to be used. To learn how to create custom weapons refer to the Weapons Reference.
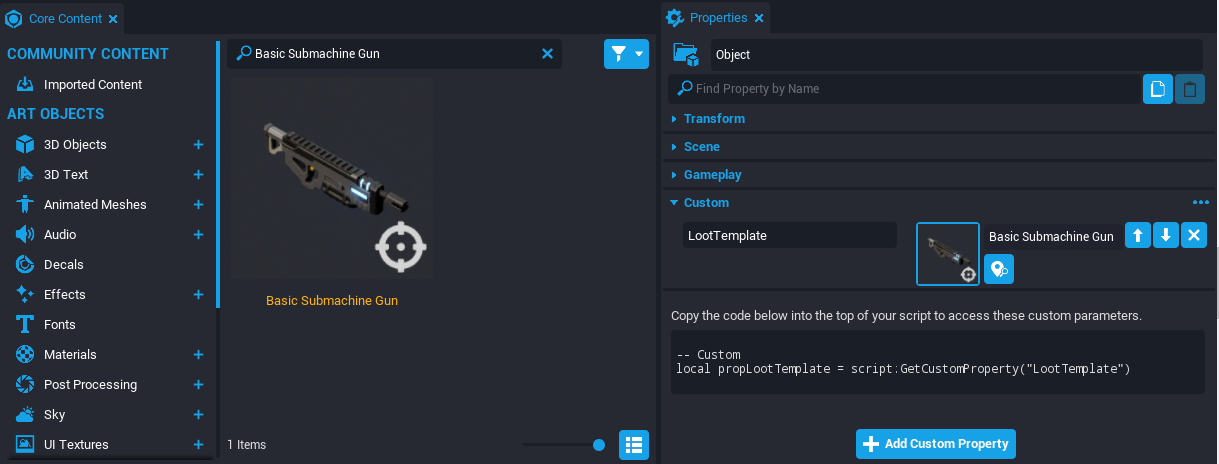
- Select the new Object (server).
- Open the Properties window and find the LootTemplate property.
- Now open the Core Content and search for
Basic Submachine Guntemplate. - Drag and drop the submachine gun template into the LootTemplate property.
Learn More
Weapons Reference | Publishing Your Game | Environment Art Tutorial | Abilities Tutorial