Icon Generator
Icon Generator
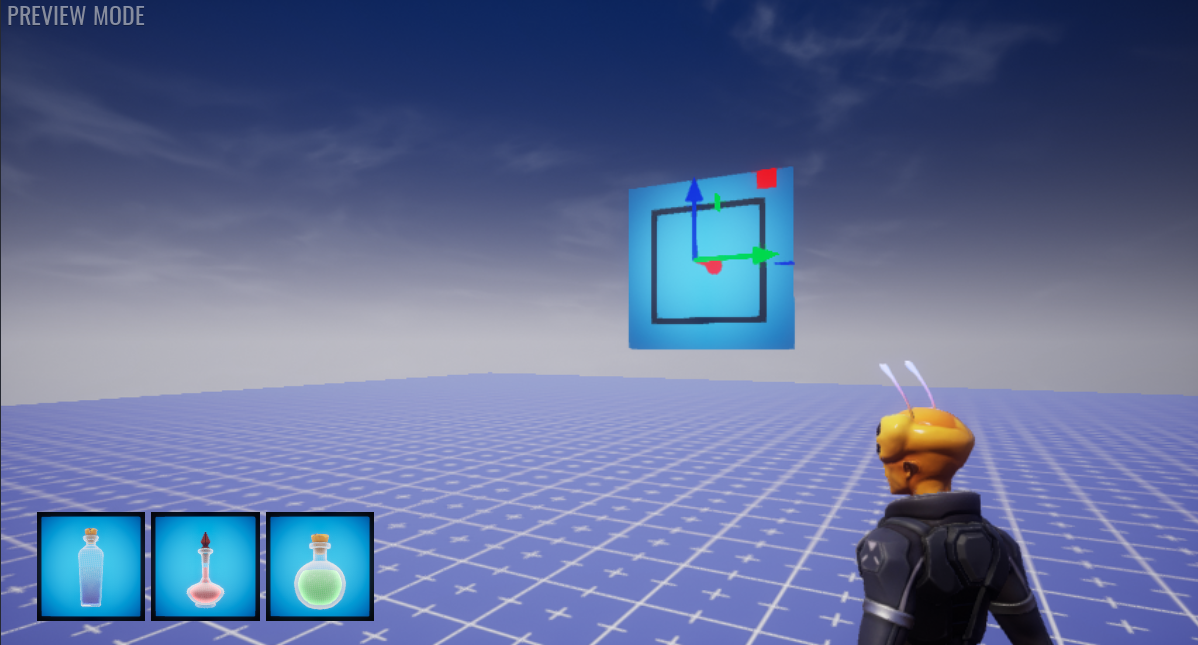
In this tutorial you will learn how to setup an area to create icons from 3D objects that can be used in the UI. For example, if you have an inventory and want the images to represent the in world object of the item, then you can use camera captures to do this.
- Completion Time: 30 minutes.
- Knowledge Level: It's recommended to have completed the Camera Captures tutorial.
- Skills you will learn:
- Setting up an area with lighting for the captures.
- Creating data scripts to hold the UI image and icon asset.
- Looping through the data scripts and automatically generate camera captures.
Create Client Context
Camera capturing is done on the client, and all the components for the area you will be building can be done in a client context.
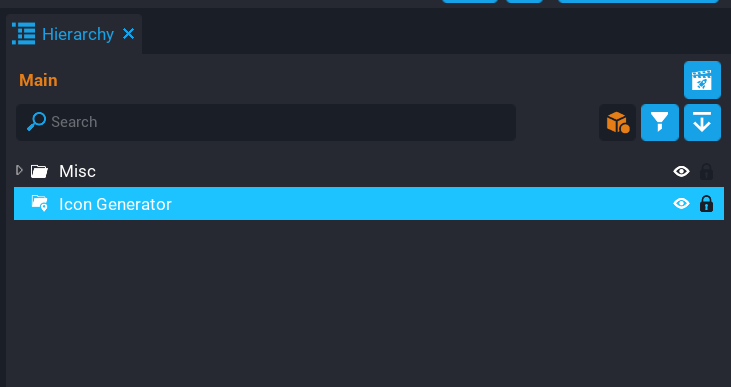
Create a Client Context and name it Icon Generator.
Create UI
You will need some UI with UI Images that will be used to display the camera captures. For this tutorial, 3 UI images will be created that will be used to display 3 different bottles to the player. Adjust the UI to how you want it to look.
- Create a UI Container inside the Icon Generator folder.
- Create a UI Panel inside the UI Container.
- Create 3 UI Images inside the UI Panel.

Create Icon Generator Area
The area that will be used to capture images will contain a few different components to make it easy to customise the generated icon to suit your UI.
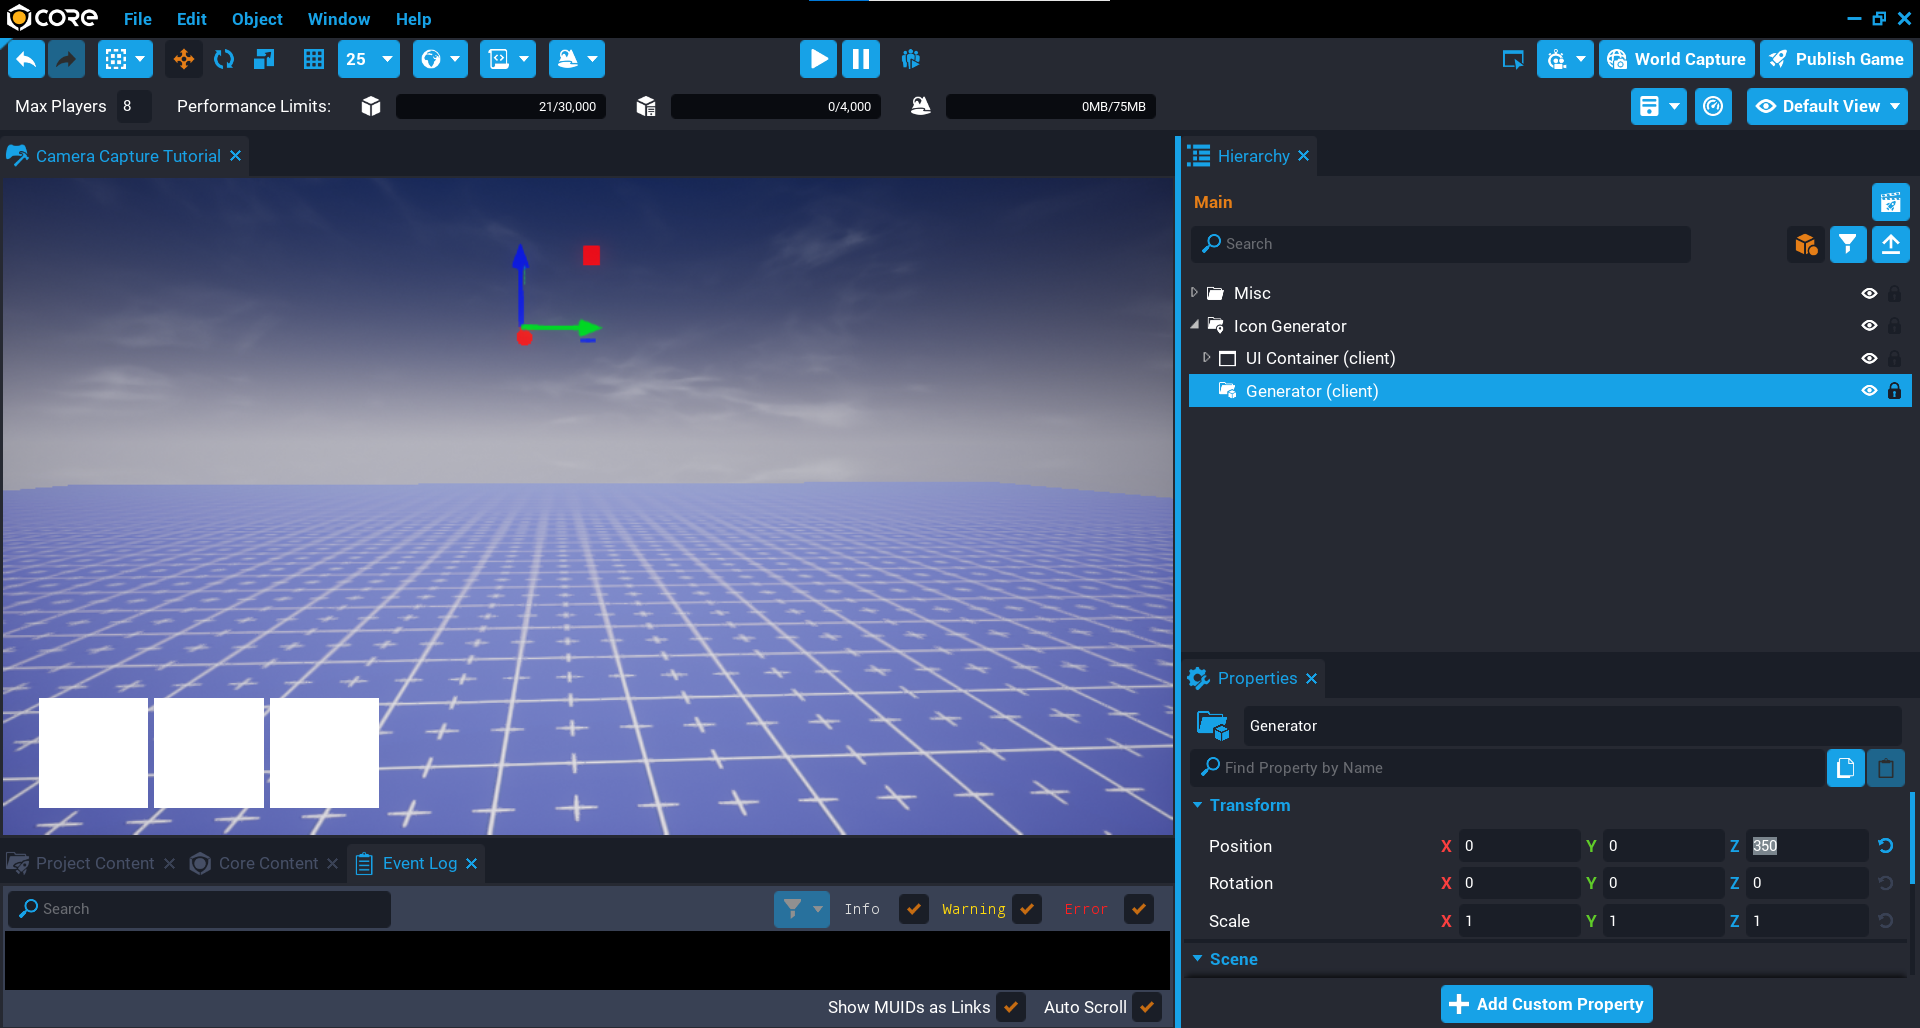
Create Generator Folder
- Create a new folder called
Generatorinside the Icon Generator folder. - Set the Z position to
350so that all the components created later will be above the ground.
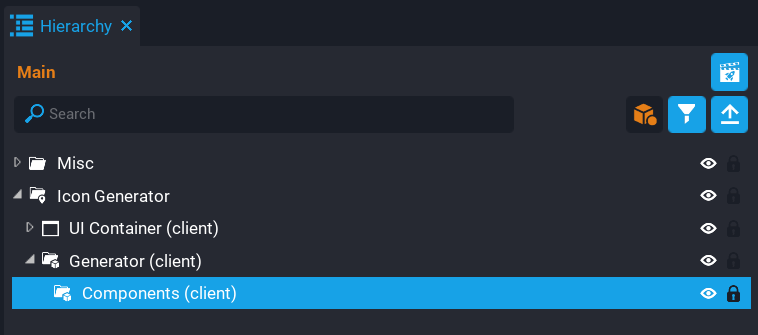
Create Components Folder
The components folder will contain all the components that build up the area for the generator. This keeps the Hierarchy tidy.
Create a new folder called Components inside the Generator folder.
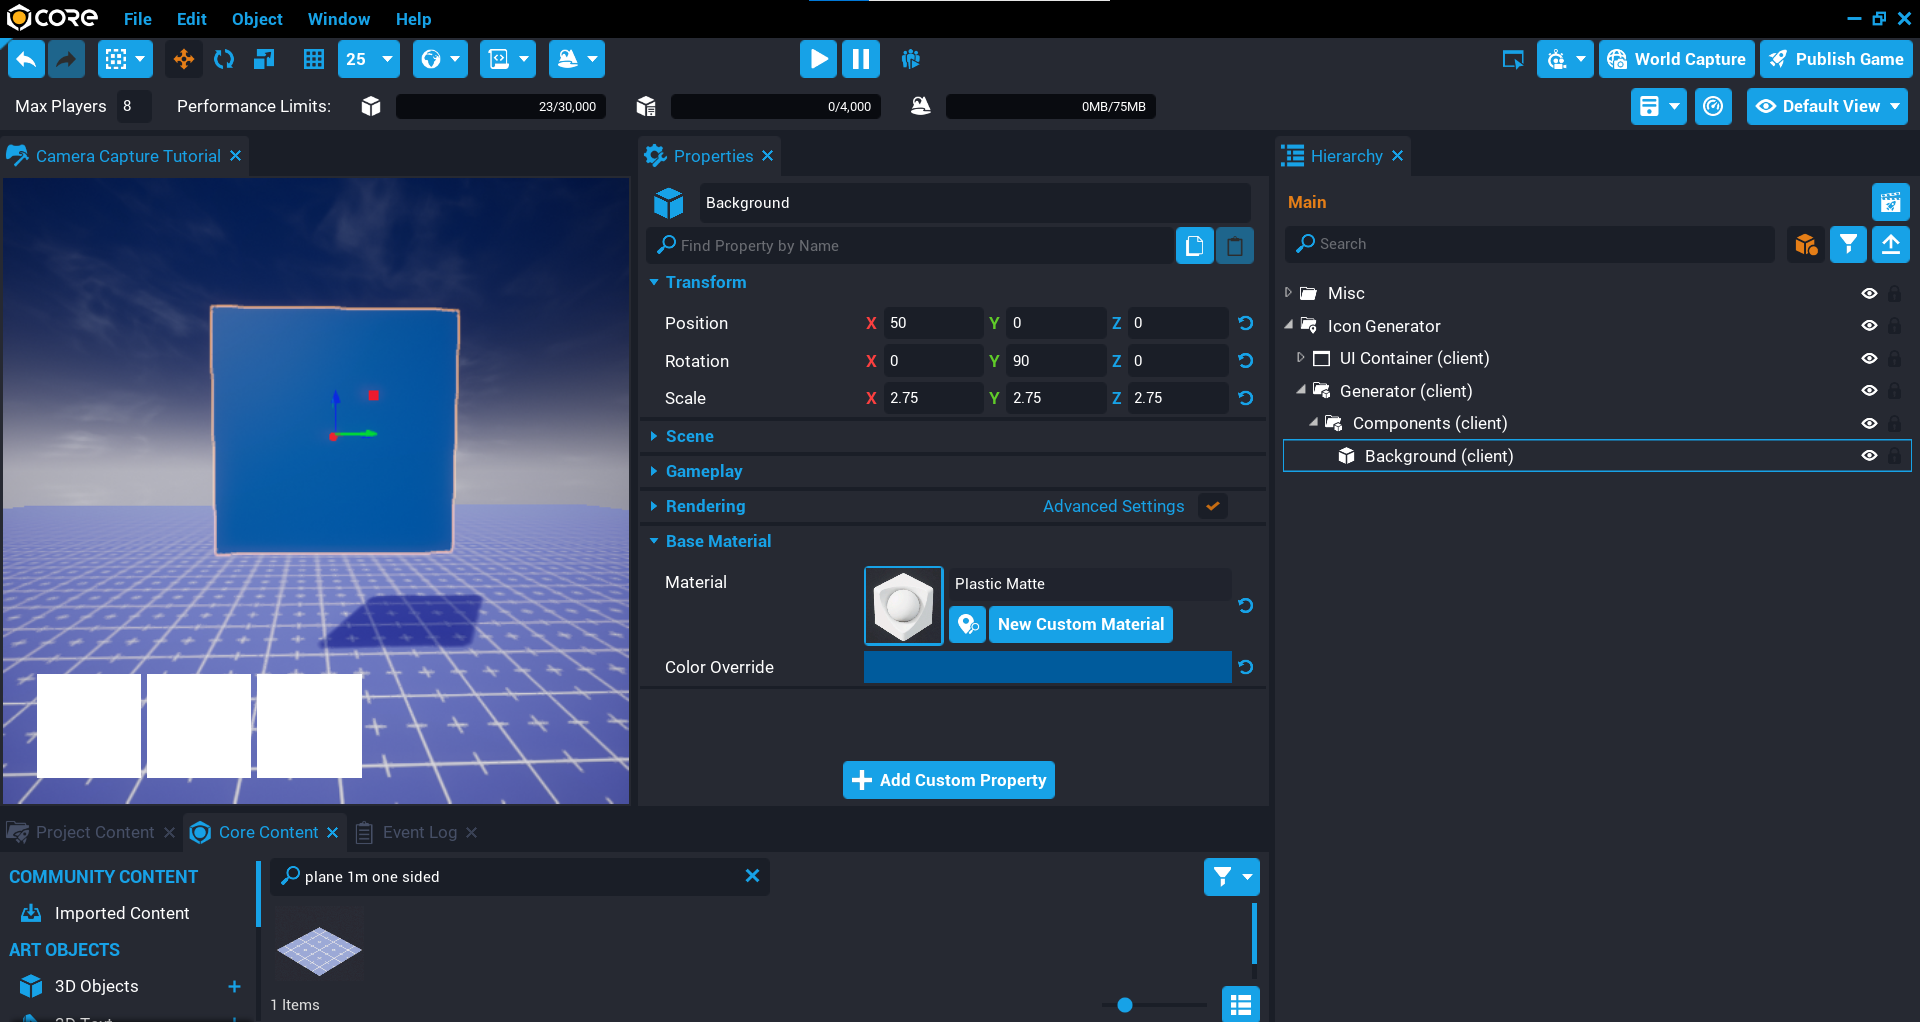
Create Background
The background will be displayed behind the icon in the UI. This is useful as it could be used to display icons with different rarity.
- In Core Content type
plane 1m one sidedinto the search to find Plane 1m - One Sided and drag it into the Components folder. - Rename Plane 1m - One Sided to Background.
- Set the Position of X to
50in the Properties window. - Set the Rotation of Y to
90in the Properties window. - Set the Scale to X
2.75, Y2.75, Z2.75in the Properties window. - Change the Material property to Plastic Matte in the Properties window.
- Adjust the Color Override property in the Properties window.
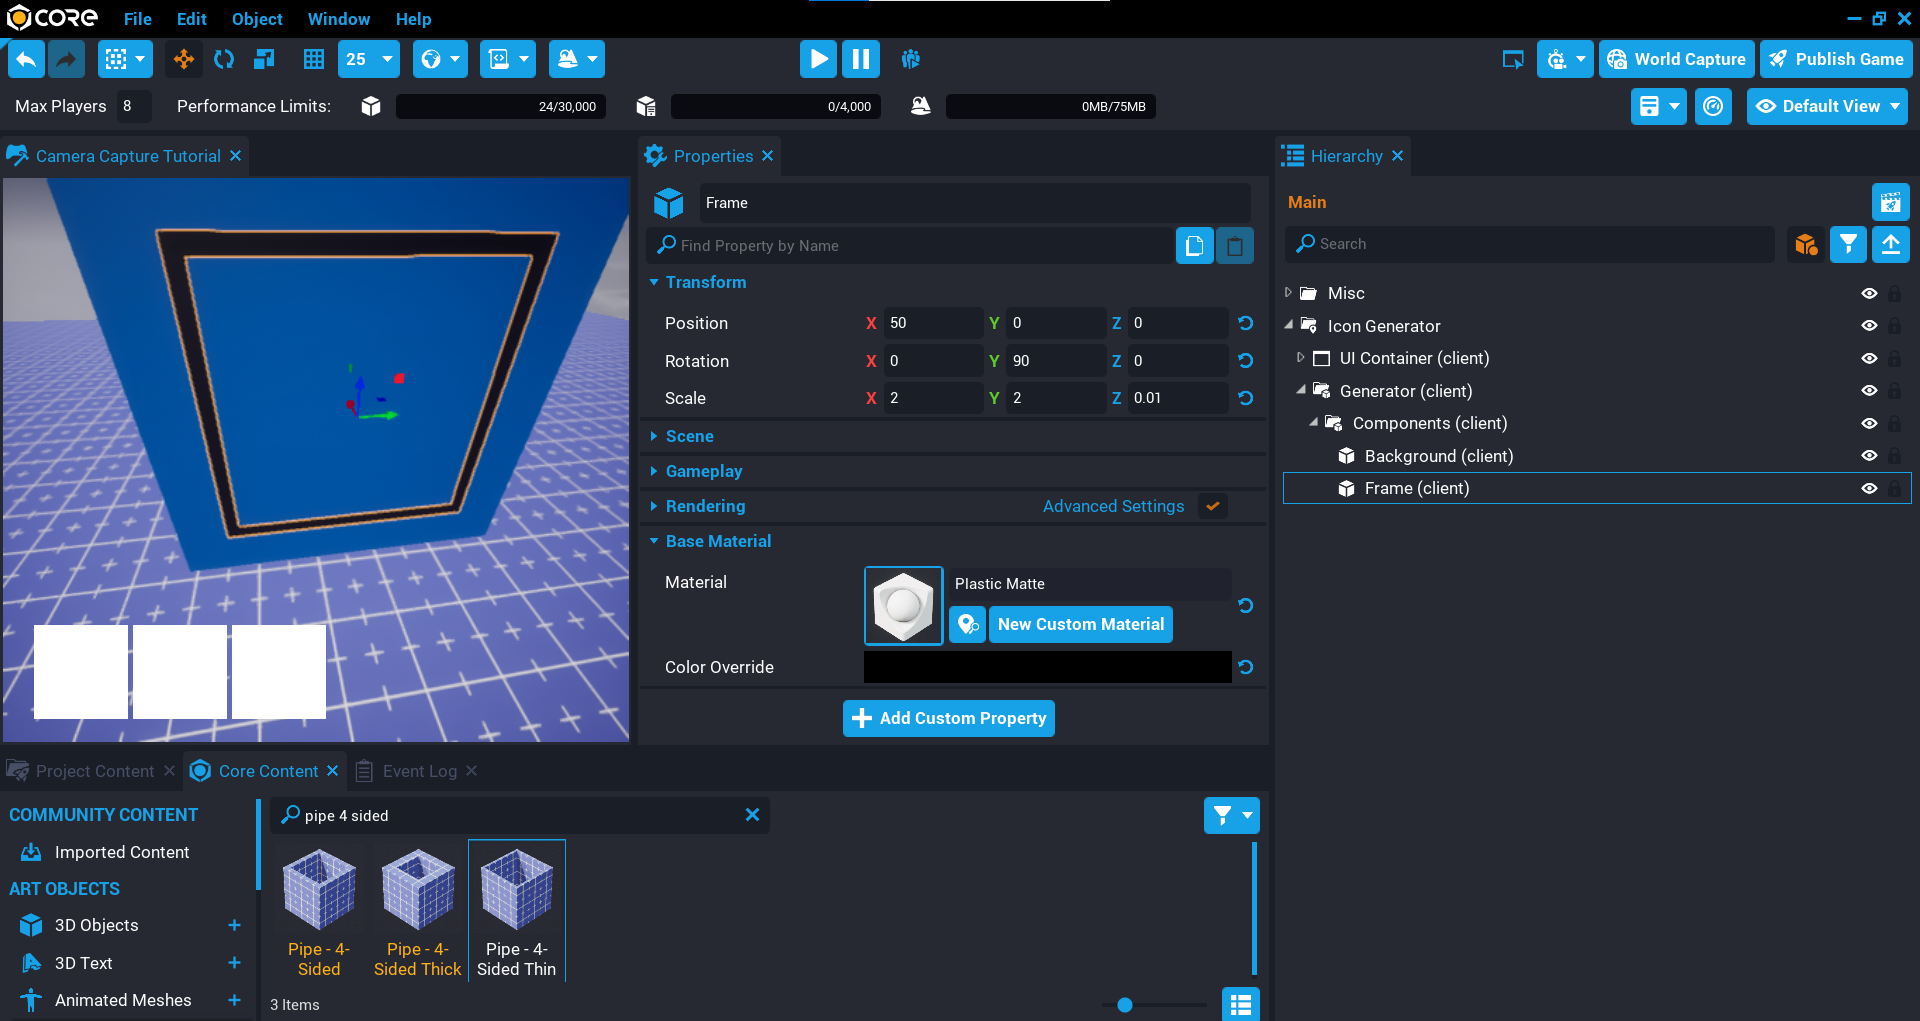
Create Frame
The frame will be used to add a frame around the UI image. This is optional, you could add the frame in the UI if you prefer.
- In Core Content type
pipe 4 sidedinto the search to find Pipe - 4-Sided Thin and drag it into the Components folder. - Rename Pipe - 4-Sided Thin to
Frame. - Set the Position of X to
50in the Properties window. - Set the Rotation of Y to
90in the Properties window. - Set the Scale to X
2, Y2, Z0.01in the Properties window. - Change the Material property to Plastic Matte in the Properties window.
- Adjust the Color Override property in the Properties window.
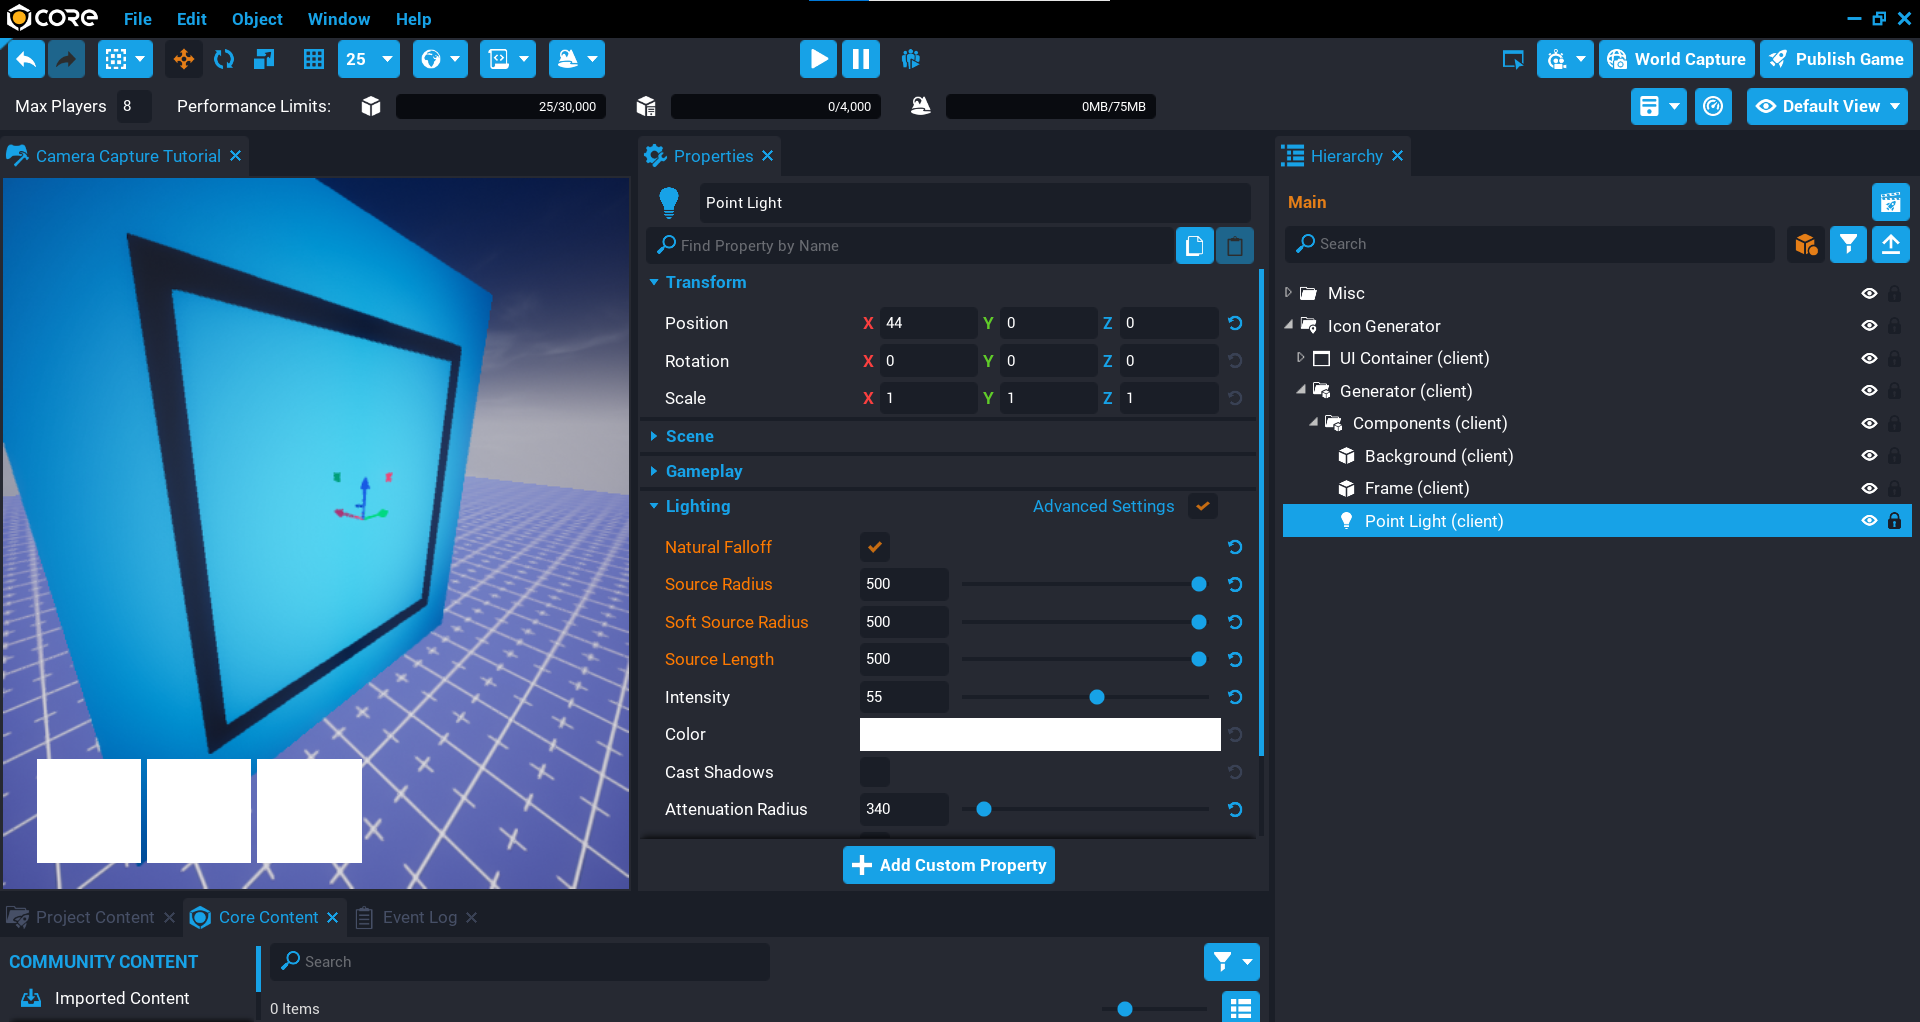
Create Point Light
The point light will be used to light up the background, frame, and add some back lighting to the object that will be captured. You can adjust the light settings until you get the look you want.
- Create a new Point Light inside the Components folder in the Hierarchy.
- Set the Position of X to
44in the Properties window. - Enable Natural Falloff in the Properties window.
- Set Source Radius to
500in the Properties window. - Set Soft Source to
500in the Properties window. - Set Source Length to
500in the Properties window. - Set Intensity to
55in the Properties window. - Set Attenuation Radius to
340in the Properties window. - Adjust the Color of the light.
Create Dummy Object
The dummy object will be used as a guide for where to position the object that will be captured so it is within the camera bounds.
- In Core Content type
dummyinto the search to find Dummy Object and drag it into the Components folder. - Under the Smart group in the Properties window, change the Type to Box.

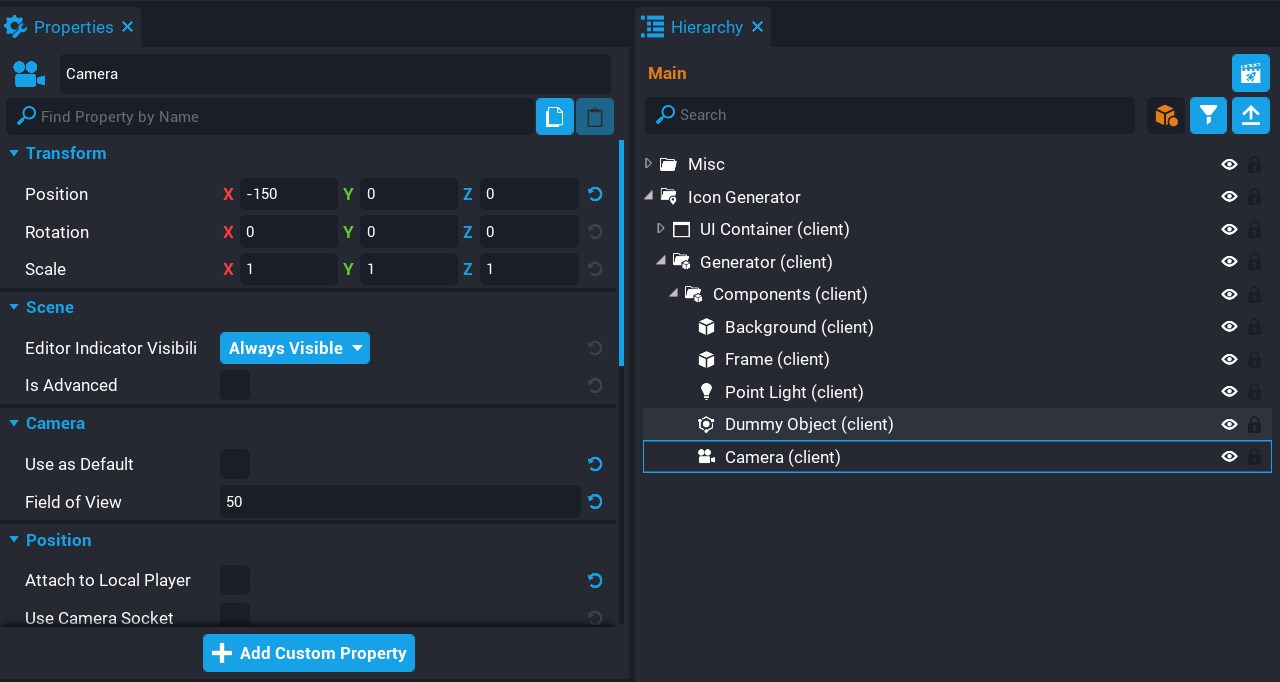
Create Camera
The camera will be responsible for taking the captures.
- Create a new camera inside the Component folder.
- Set the Position of X to
-150in the Properties window. - Set the Field of View
50in the Properties window.
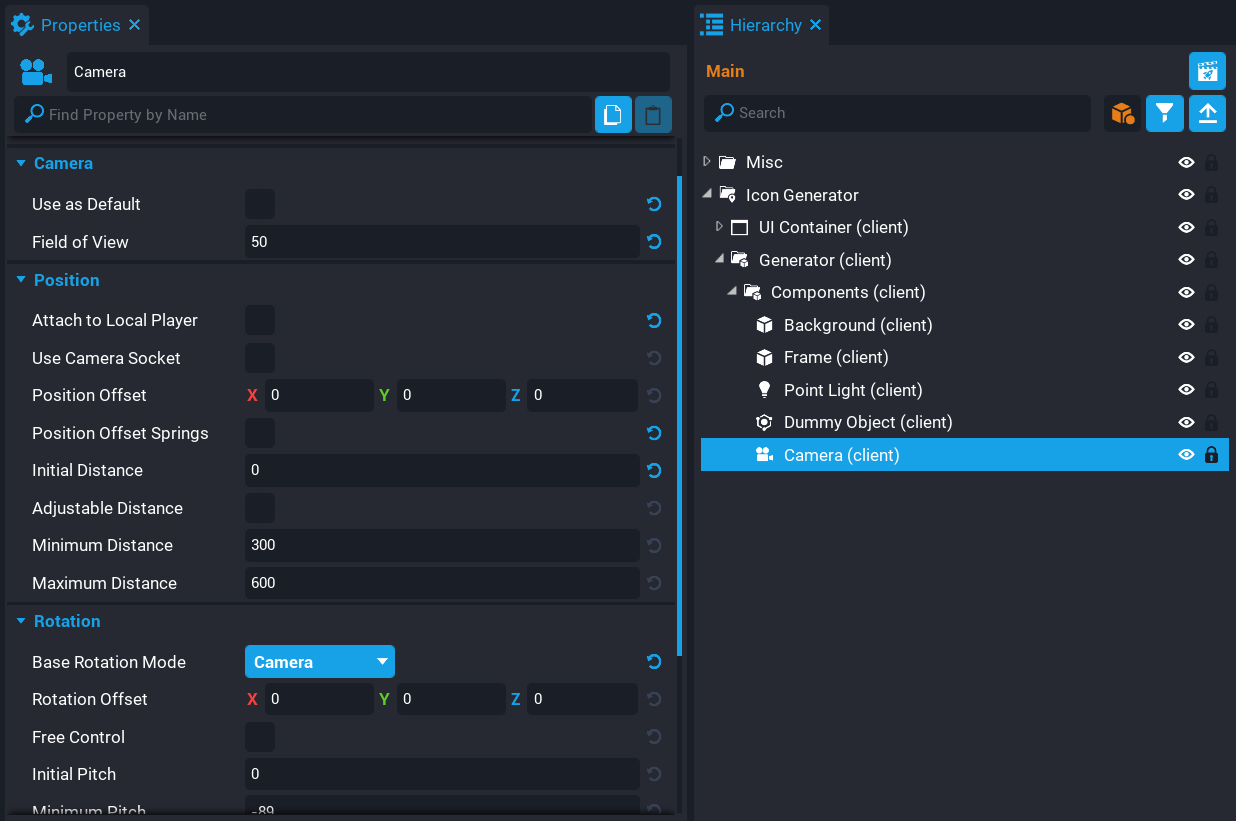
Modify Camera Properties
When you use a camera that will be used for camera capturing, certain properties need to be changed. Core will warn you in the Event Log about which properties should be changed when you try to create a capture.
Modify the following properties on the Camera you created.
| Property | Property Value |
|---|---|
| Use as Default | Uncheck this option. |
| Attach To Local Player | Uncheck this option. |
| Position Offset | Set to Zero. |
| Initial Distance | Set to Zero. |
| Adjustable Distance | Uncheck this option. |
| Base Rotation Mode | Set to Camera. |
| Rotation Offset | Set to Zero. |
| Free Control | Uncheck this option. |
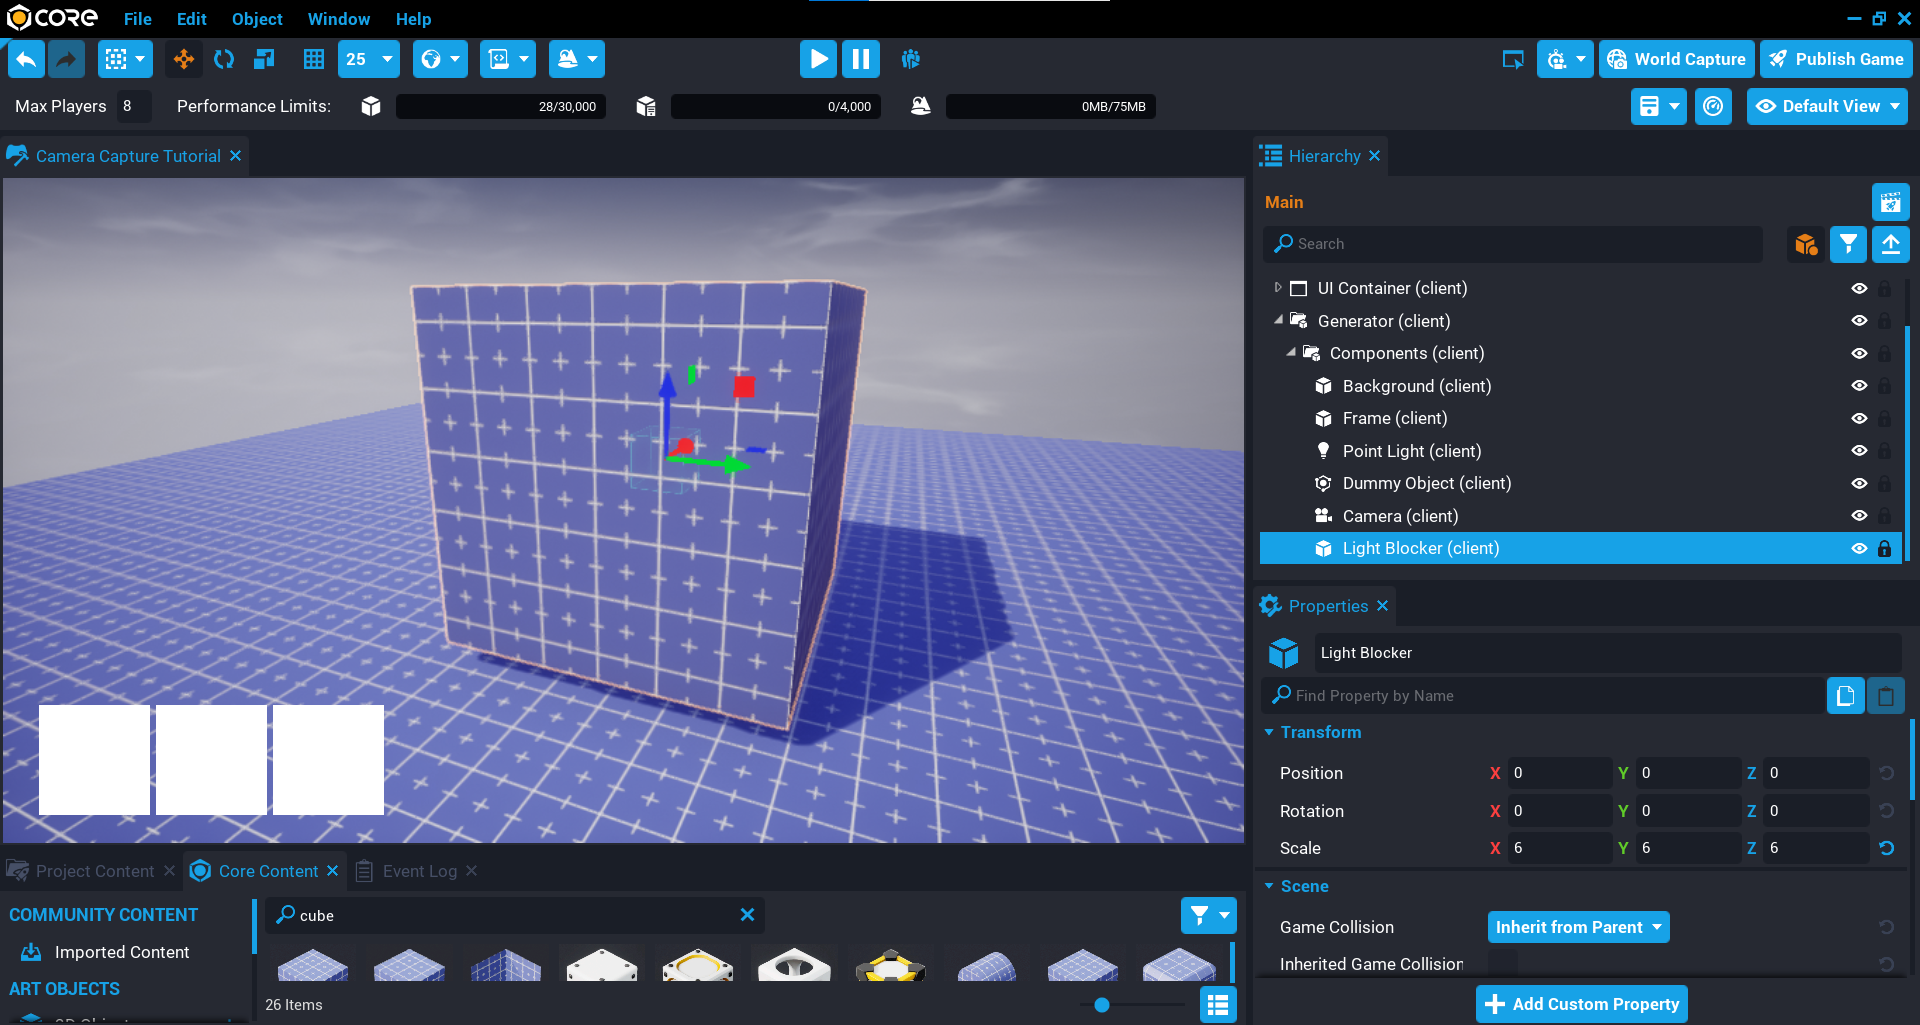
Create Light Blocker
To prevent any shadows or light effecting the captured image, you can add a cube around the area to be used as a blocker. Doing this will give you more control on how the captured image looks.

 Without Light Blocker (left) vs. With Light Blocker (right)
- In Core Content type
cubeinto the search to find Cube and drag it into the Components folder. - Rename the Cube to
Light Blocker. - Set the Scale to X
6, Y6, Z6in the Properties window.
In the Hierarchy for the Light Blocker, click on the visibility icon ![]() to make it easier to see the capture area.
to make it easier to see the capture area.
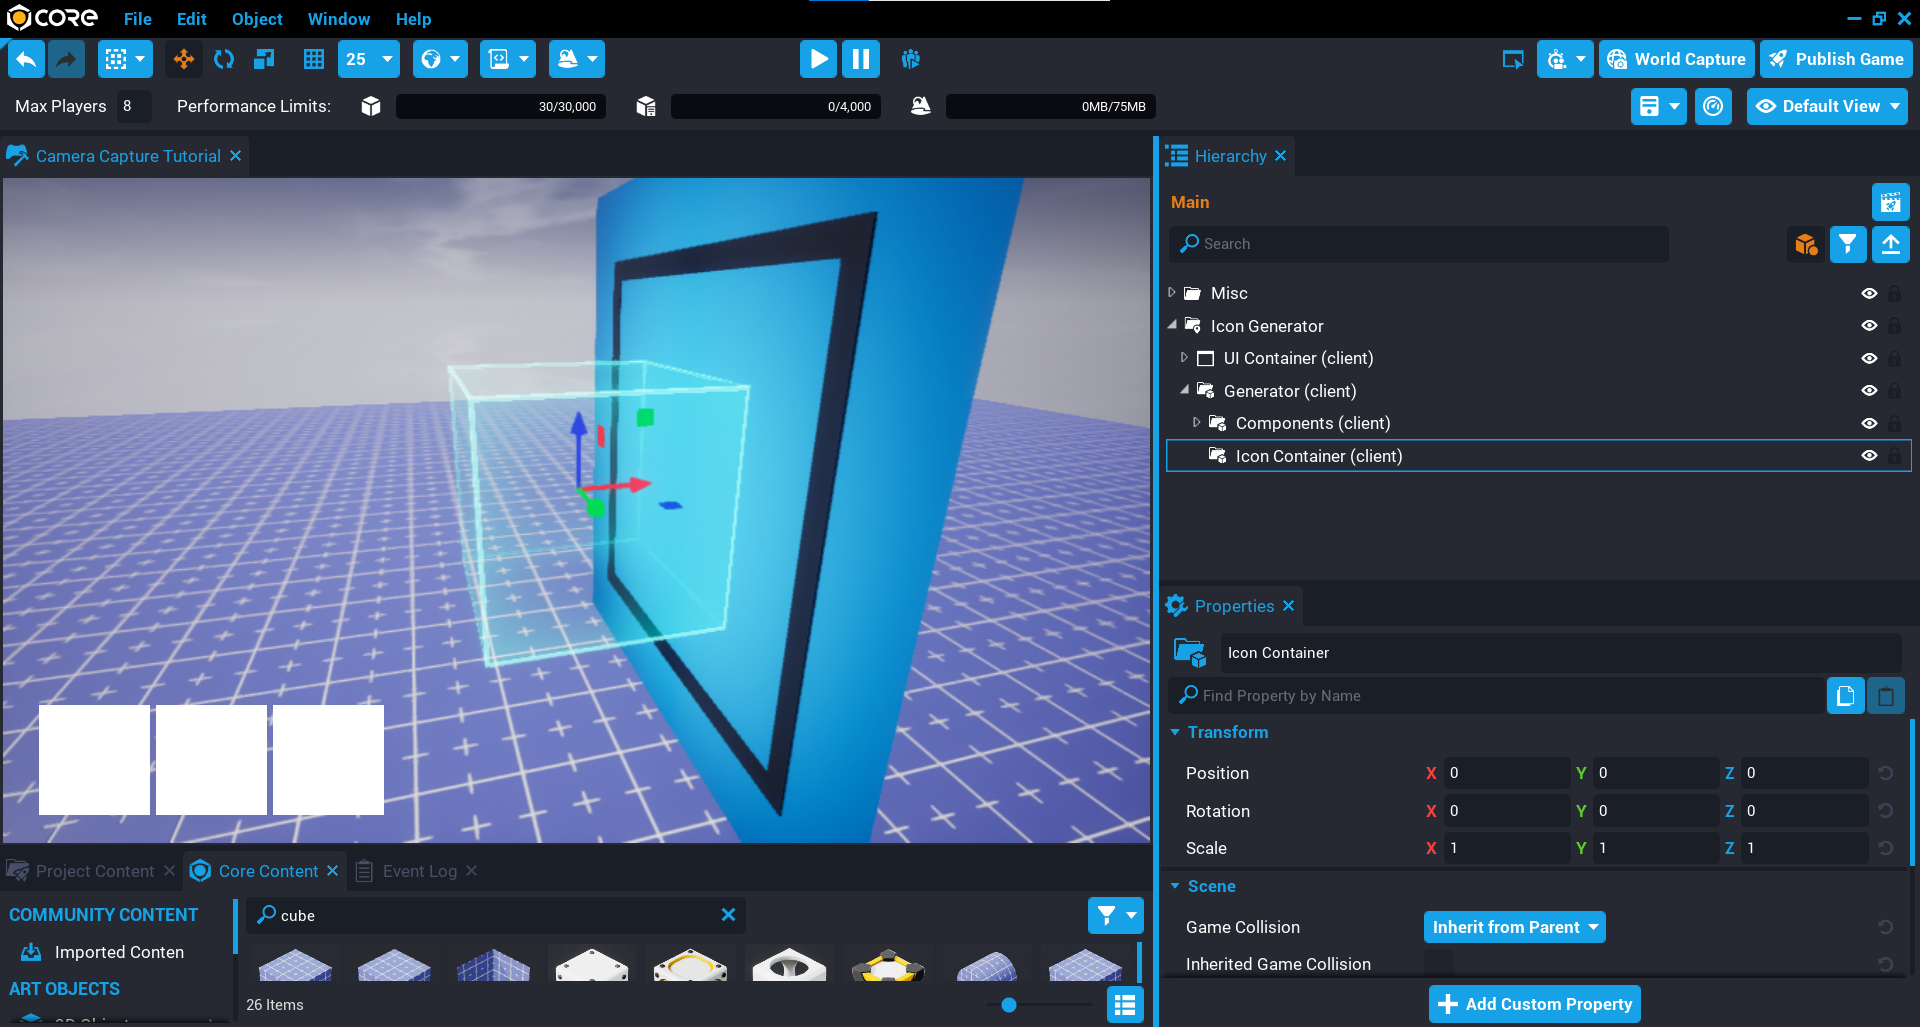
Create Icon Container
With all of the components created for the camera capture area, you will need a folder that will be used as the container for the objects that will get captured. This will be useful when you need to adjust the position of an object to be within the bounds.
In the Hierarchy, create a new folder called Icon Container inside the Generator folder.
Create Icon Templates
Create 3 templates that contain the 3D object you want to capture and show in the UI. For this tutorial, 3 different bottles will be used to display a different bottle in the UI.
It is recommended to create a new group inside the Icon Container and place your 3D objects inside that group. This way you can position the children of that group correctly so that when the generator spawns the asset, it will be in the correct location as the children will be offset from the parent group.
For example, here is how Bottle 1 looks when done. Notice that the 3D object is a child of a group, and has been positioned and scaled to show within the bounds of the Dummy Object. Once you are happy with how it looks, create a new template. Repeat until you have 3 different templates.

Create Icon Data
To create the icons for the UI, you will be creating a folder that will contain scripts that hold data. The data will be used later by a script that will spawn that asset, create the capture, and then assign it to the UI image.
Create Items Folder
You will need a folder that will hold all the data scripts so that a script can fetch all the items and process each icon.
In the Hierarchy create a new folder called Items inside the Icon Generator folder.
![]()
Create Icon Data Script
A data script doesn't usually contain any Lua code, it is simply a container that holds custom properties that can be fetched by a script. This is a good way to store data that a script needs to iterate through to process each item.
Create a new script called IconData.
Because this script is going to be used multiple times in the Hierarchy, setting up default custom properties from the Project Content window makes sense so you don't have to keep creating the custom properties.
- In Project Content, find the IconData script and click on it so it is the active object.
- In the Properties window, add a Core Object Reference custom property called
Image. - In the Properties window, add a Asset Reference custom property called
Asset.
The Image property will be linked to the UI image in the UI Container, and the Asset property will be linked to the template that will be spawned by the icon generator so it captures an image of that object.
![]()
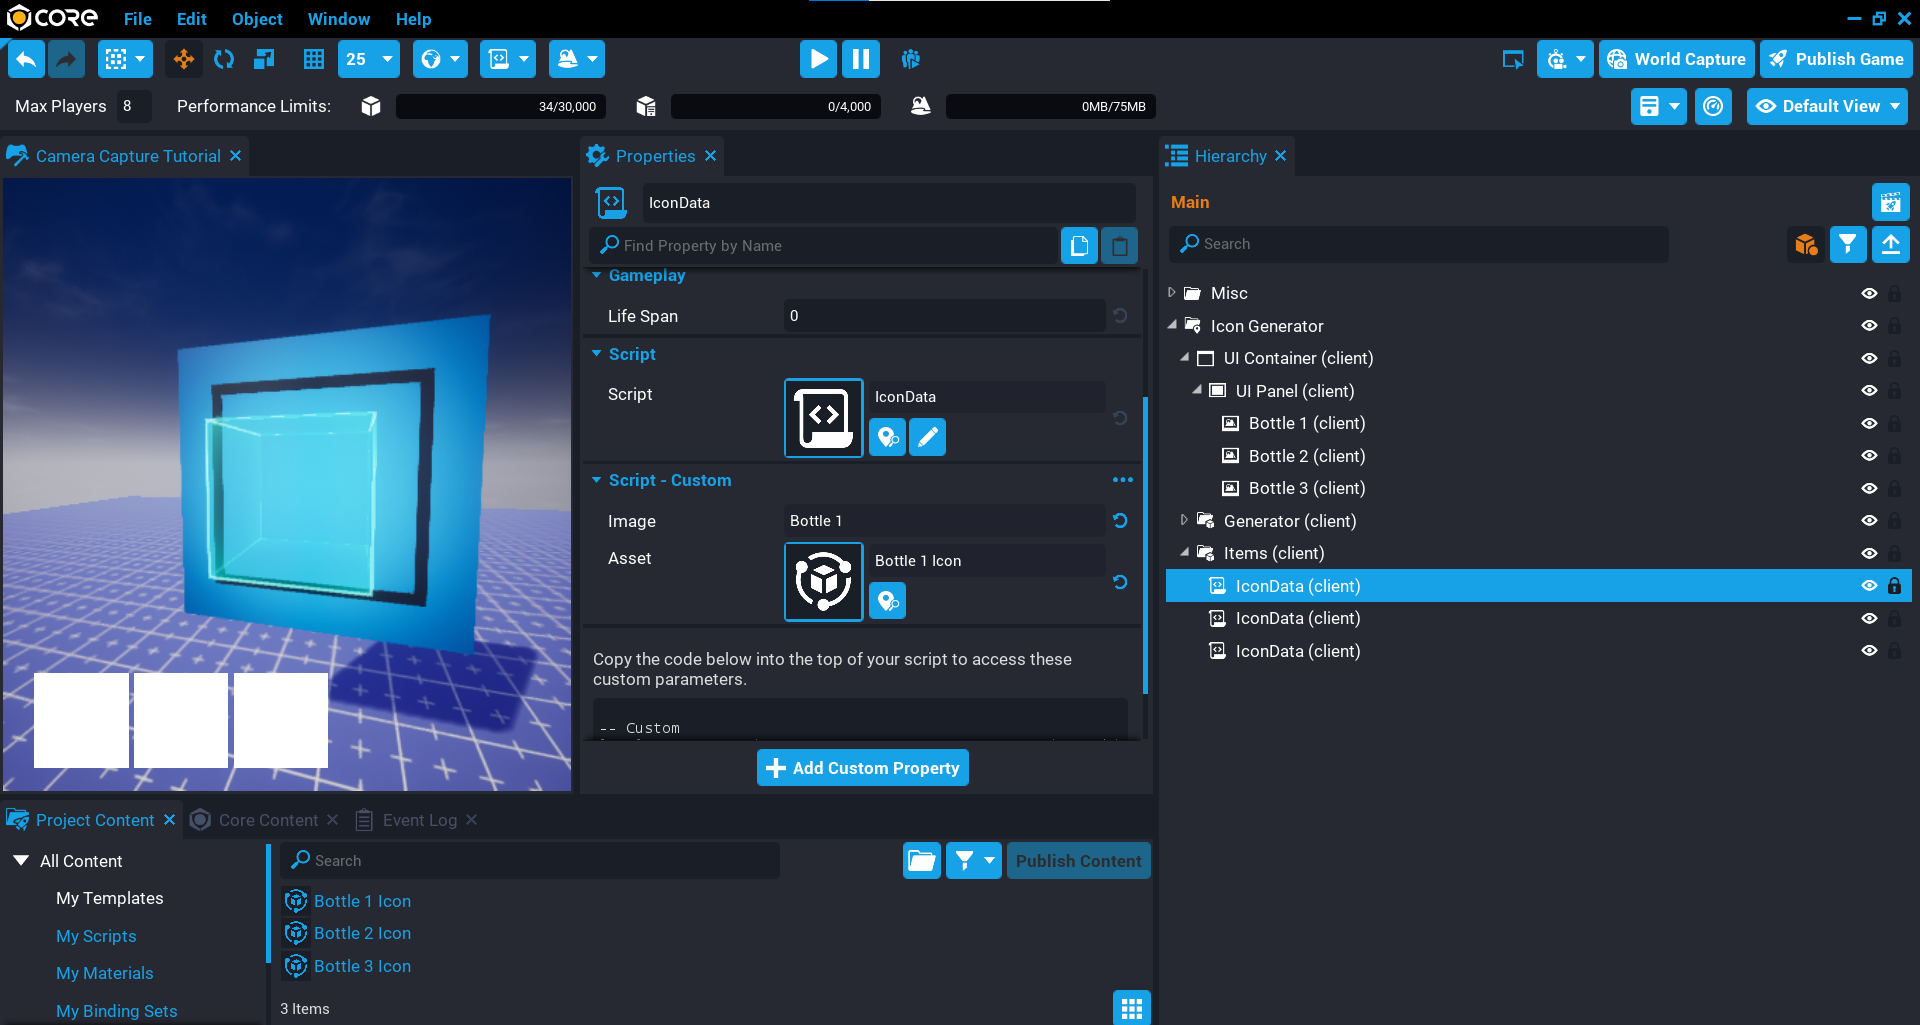
Create Icon Data
You will now need to add the IconData script to the Items folder and setup as many IconData scripts as you need. In the case of this tutorial, there are 3 UI Images that will be used to display 3 bottles. So 3 IconData scripts need to be added to the Items folder.
- Drag the UI image from the UI Container onto the Image custom property.
- Drag the template to use for this icon from Project Content onto the Asset custom property.
Repeat this for all your UI images.
Create IconGeneratorClient Script
The final step is to create a script that will loop through the icon data in the Items folder and generate the icon for each one.
Create a new script called IconGeneratorClient and place it into the Components folder.
Add Custom Properties
The IconGeneratorClient script will need references to the Items folder, Items Container folder, and Camera.
- Add the Camera from the Components folder as a custom property called
Camera. - Add the Icon Container from the Generator folder as a custom property called
IconContainer. - Add the Items folder from the Icon Generator folder as a custom property called
Item.

Create IconGeneratorClient Code
Open up the IconGeneratorClient script and add the property references.
local CAMERA = script:GetCustomProperty("Camera"):WaitForObject()
local ICON_CONTAINER = script:GetCustomProperty("IconContainer"):WaitForObject()
local ITEMS = script:GetCustomProperty("Items"):WaitForObject()
Create Camera Captures
To create the camera captures, you will need to loop over all the children in the ITEMS folder. Each child is an ItemData script that is holding data about which asset to spawn, and which UI image to use to display the captured image.
Each iteration of the loop will spawn the asset for the item, place it into the ICON_CONTAINER, and create a capture. Once the capture has been done, the asset is then destroy so the area is cleared for the next item to be captured.
When creating a capture using the Capture function, it will return a CameraCapture object that will be used in the UI. This can then be set for the image using SetCameraCapture.
for i, item in ipairs(ITEMS:GetChildren()) do
    local asset = World.SpawnAsset(item:GetCustomProperty("Asset"), { parent = ICON_CONTAINER })
    local capture = CAMERA:Capture(CameraCaptureResolution.MEDIUM)
    local image = item:GetCustomProperty("Image"):WaitForObject()

    image:SetCameraCapture(capture)
    asset:Destroy()
end
The IconGeneratorClient Script
IconGeneratorClient
local CAMERA = script:GetCustomProperty("Camera"):WaitForObject()
local ICON_CONTAINER = script:GetCustomProperty("IconContainer"):WaitForObject()
local ITEMS = script:GetCustomProperty("Items"):WaitForObject()

for i, item in ipairs(ITEMS:GetChildren()) do
    local asset = World.SpawnAsset(item:GetCustomProperty("Asset"), { parent = ICON_CONTAINER })
    local capture = CAMERA:Capture(CameraCaptureResolution.MEDIUM)
    local image = item:GetCustomProperty("Image"):WaitForObject()

    image:SetCameraCapture(capture)
    asset:Destroy()
end
Test the Game
Test the game and make sure the camera capture is working. If you followed along with the tutorial, then the 3 UI images will display a different capture.
Summary
Having an icon generator component can come in handy when you can't find a UI image that suits the object. Once the setup for the area is done, then it can be made into a template and reused in future projects.
There are more advanced features you could consider adding to the icon generator, such as automatically reusing or releasing existing captures, and even keeping track of how much memory budget has been used.
Learn More
Camera Capture API | Camera Capture Resolutions | Camera API | UI Reference